

6 Styling Tips For Delicious Food Photos
(…more useful than using soap in your coffee and glue for milk!)
When I say I am a food photographer and stylist I am always hit with a comment that goes something like this:
“I heard you use (not food ingredient) to do make this (food ingredient) look good! I’ve heard all the tricks!”
Glue as milk on cereal. Soap in coffee to make it look fresh. Soy sauce as coffee to make it look deep and rich. Motor oil for syrup. Shaving cream as whipping cream. Mashed potatoes or lard as ice cream. Baby powder to make food look frosty. The list goes on……
Even in the food photography community, these tactics are controversial. Some photographers pride themselves on taking images of food exactly as it is. Then they eat it for dinner later, while others like to fuss and use every trick in the book. I am somewhere in the middle. Food is pretty, but sometimes it needs some help. My list of tricks that I have gathered over the years aren’t shocking and glamorous- and no one will likely talk about them at a cocktail party, but I use them every day.
Tip #1: Water Into Wine
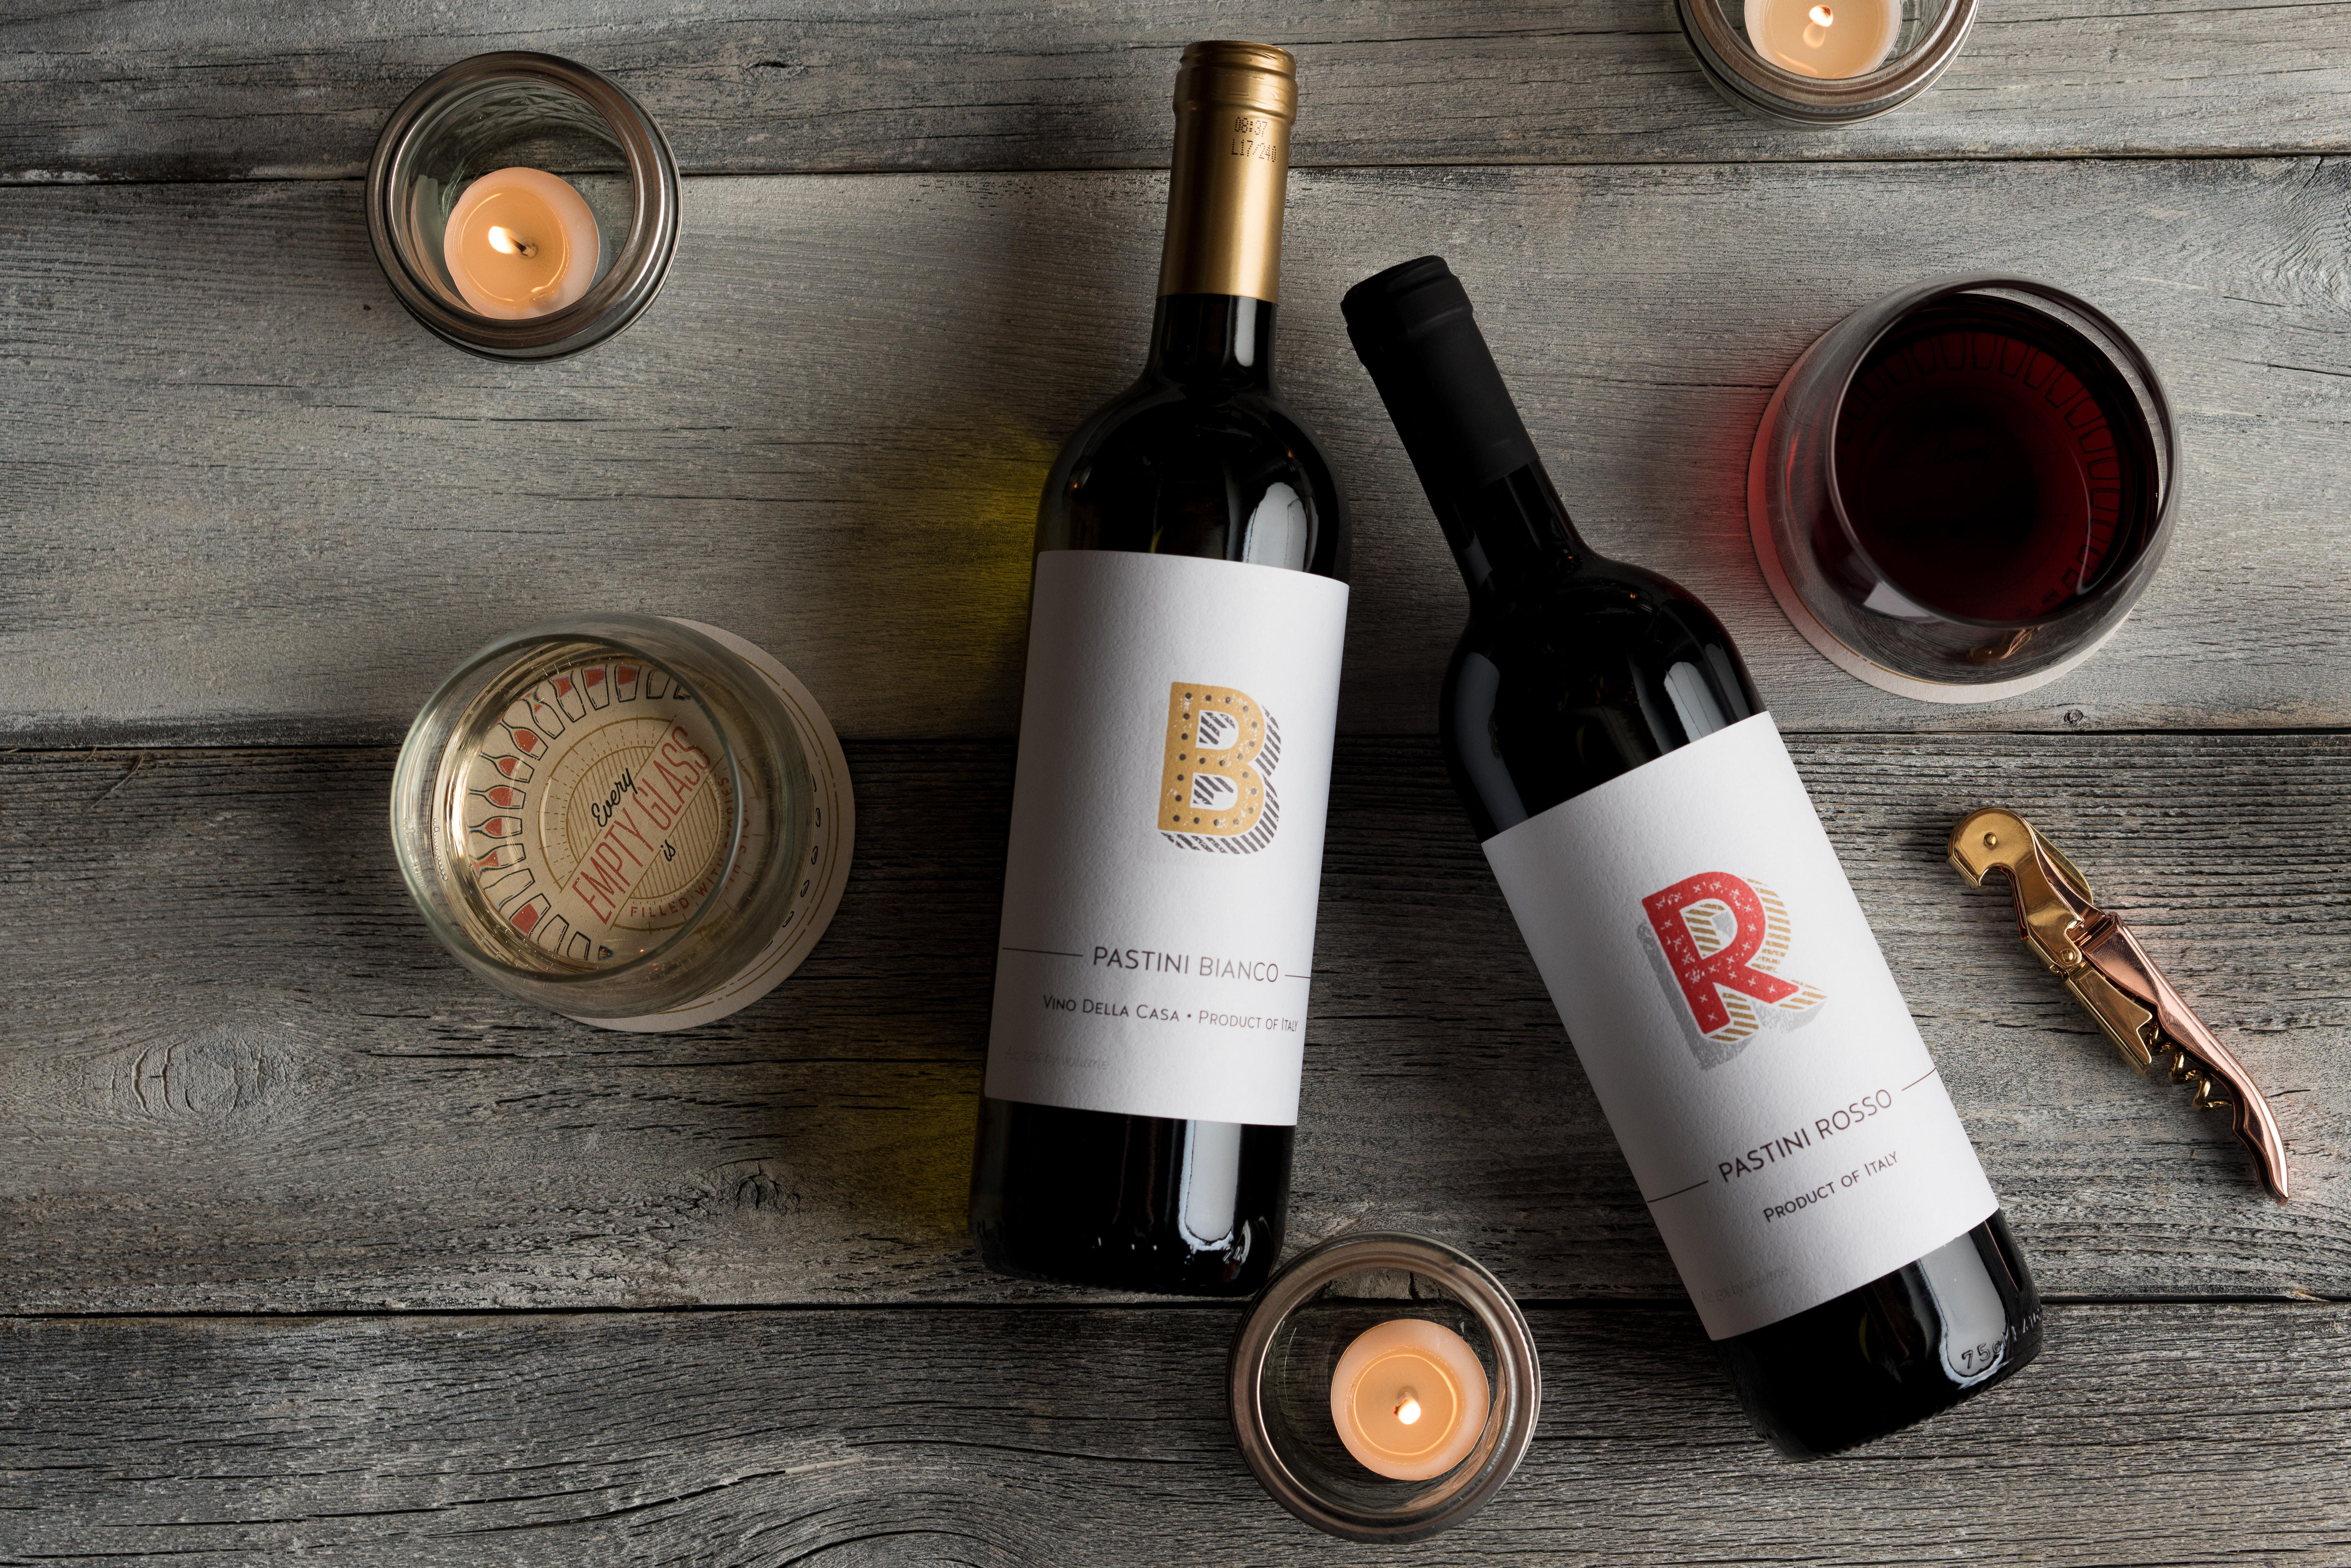
Red wine in a shoot is always a challenge. It looks red to us emotionally, but it usually translates to a dark black hole in an image. So when I use a red in a shoot, I buy a cheap bottle then blend it with water until it’s light enough to see through, capturing a true red on the camera.
Tip #2: Undercook Almost Everything
You can always cook it more, but you can’t cook it less. Meats look plumper when they are just browned but raw inside. Sautéed greens keep their recognizable shape and color by just wilting them with steam. Pasta looks brighter and golden when cooked just to point it’s pliable. Just a dunk in hot water keeps ravioli firm and plump. The camera darkens charred edges, so broil all your food a few shades lighter than you would eat it.
Tip #3: Thicken Those Sauces & Syrups
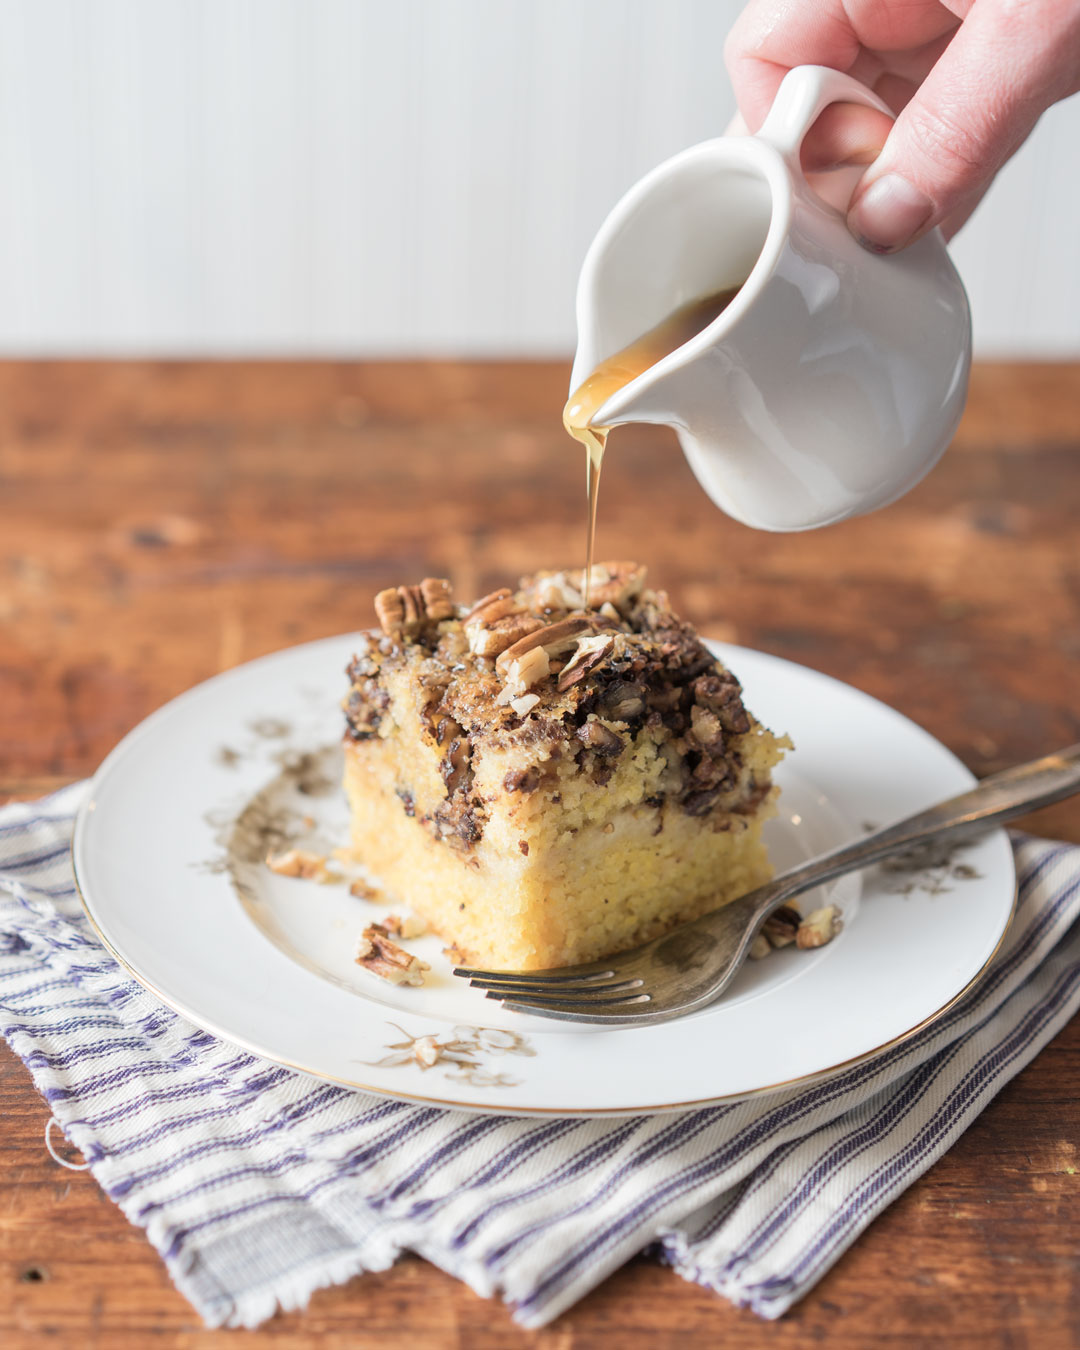
If something is meant to be rich, people want to see rich. Visually we see rich as thick and coating — but even luscious sauces can run thin visually. Syrup is a great example — we don’t really notice how thin syrup can be until we try to shoot a big fat glistening drop and we get a thin narrow anemic stream soaking into the hero pancakes.
Thickening can happen all kinds of ways: sometimes I add sugar and cook down a sauce, then cool it until it’s the right consistency. Syrup can be cooked down or frozen until it’s slow and sticky, perfect for catching that drop just about to hit the pancake stack. For white sauces like Alfredo, I will try a cornstarch slurry or sodium alginate. It’s a lot of experimentation, but it’s important to keep in mind that you are trying to add body without changing the sauce entirely.
Tip #4: Styling is a Dish Best Served Cold
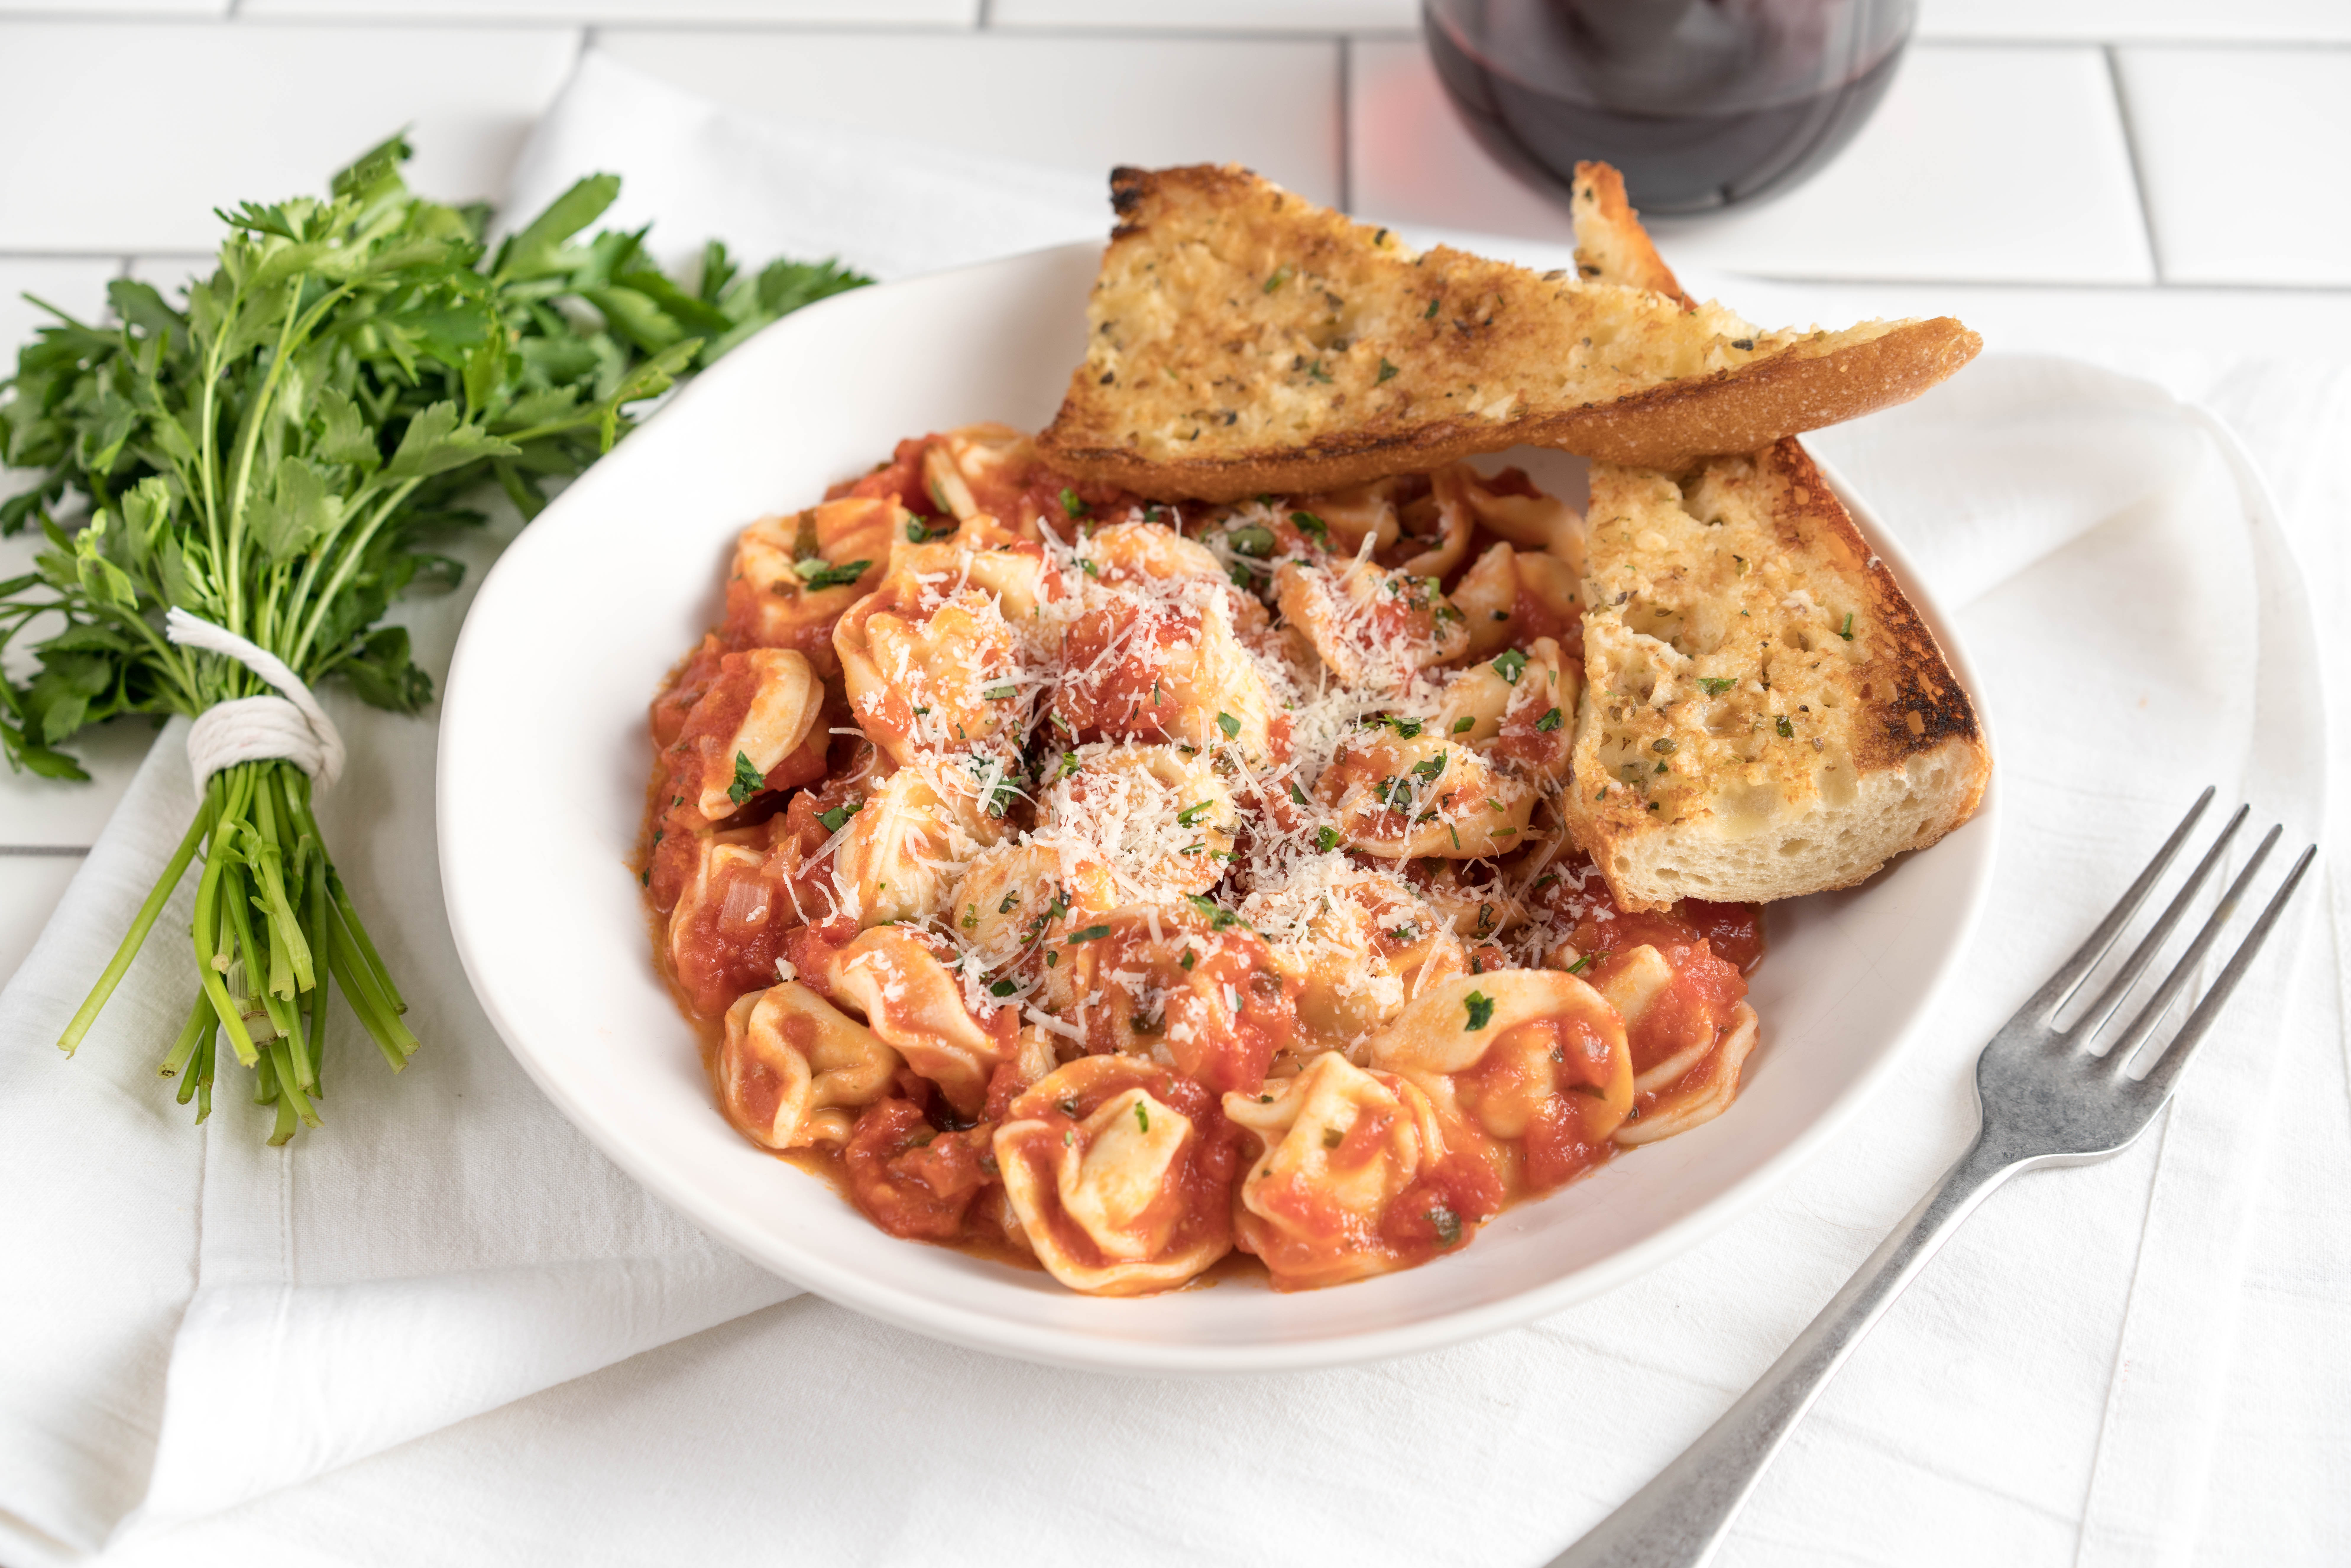
Very few foods need to be shot hot, most actually look better styled cold. The exceptions are editorial shoots in restaurants (but even then you get some wiggle room) and some soups and foods where the fats congeal and separate when cold. Or maybe you want to catch a wisp of steam- but even steam comes with its own books of tricks (just google “steam tampon” to see what I mean). But, in general, I find that pastas hold their shape when plated cold, sauces looks thicker and brighter, meats don’t go brown and grey when seared then given a spritz of oil or glycerin to keep them looking “just out of the oven” fresh.
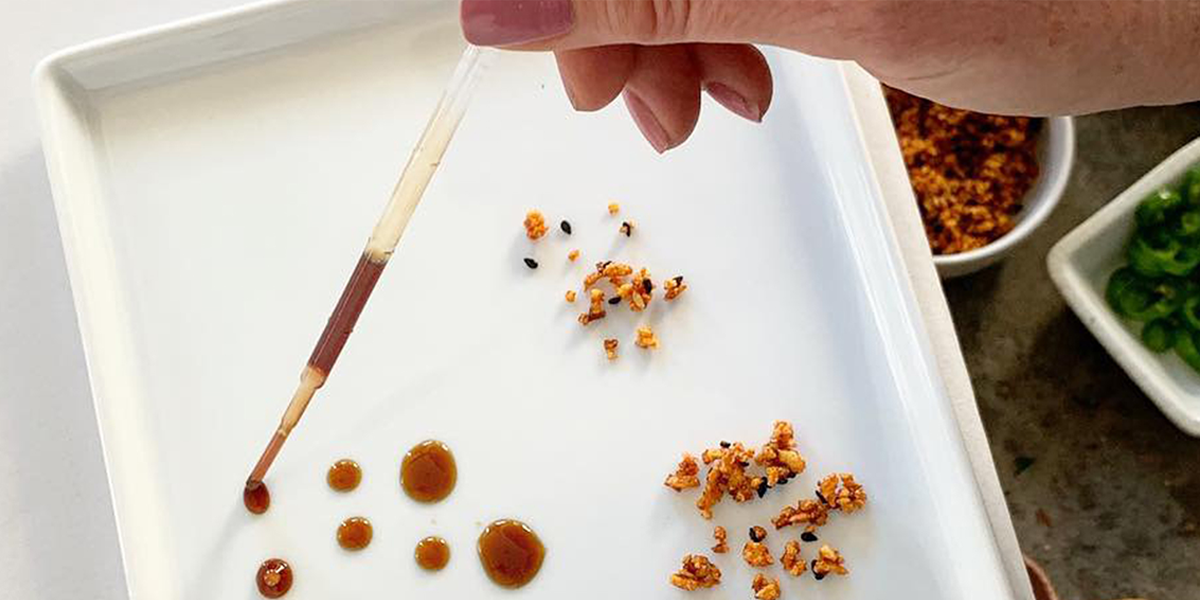
Tip #5: Show the Salad Naked
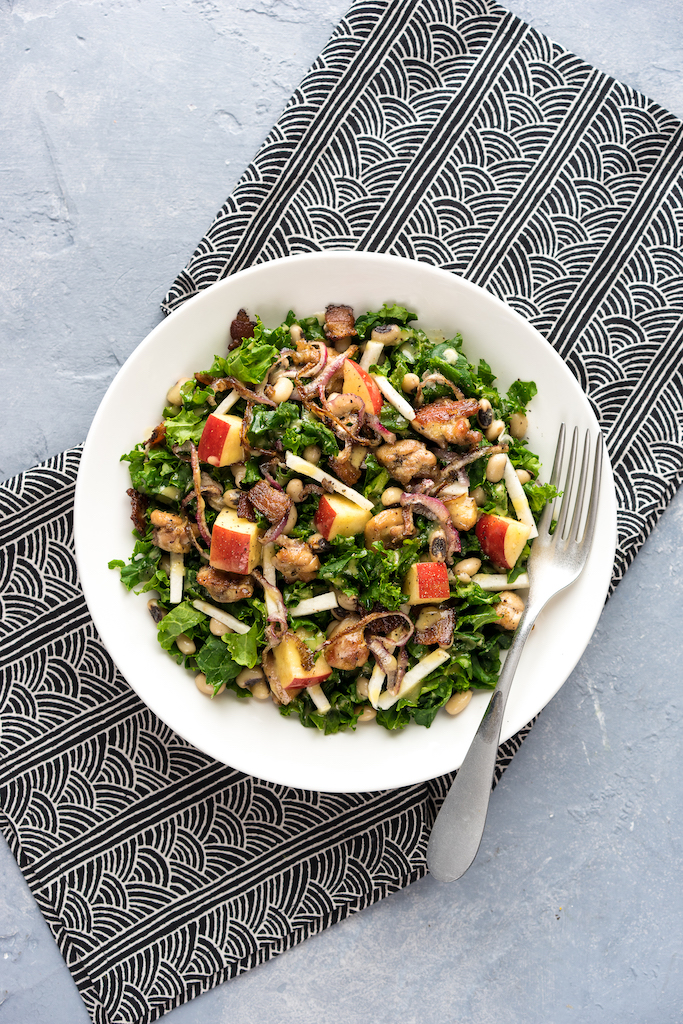
Think of salads as flower arranging on a plate. Heavy dressings will almost always weigh down your greens or make them look wilted and stale, like dipping roses in oil. No matter what the salad — I style it naked. If it has a dressing that needs to be showcased, then I use a spoon or eye dropper to gracefully drip it in on the plate and on individual lettuce leaves or I place it in small bowl or dish near the salad.
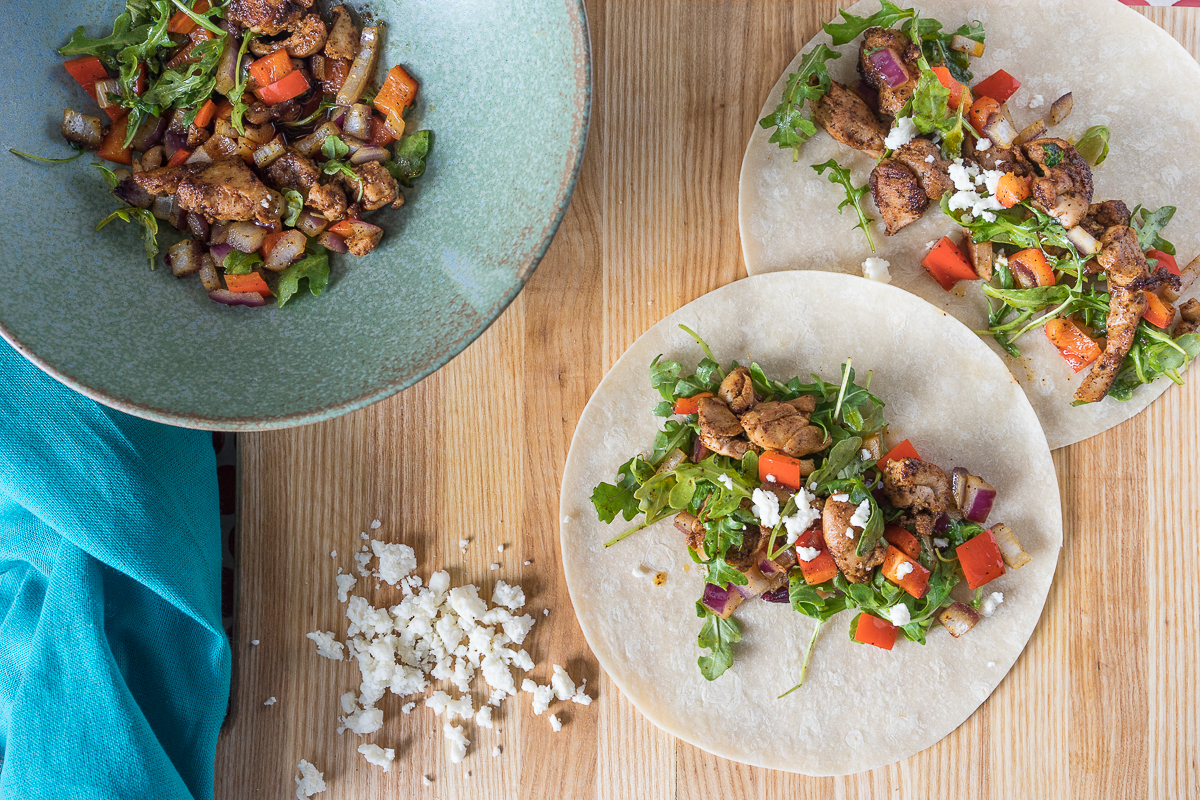
Tip #6: Small Dishes are Good Dishes
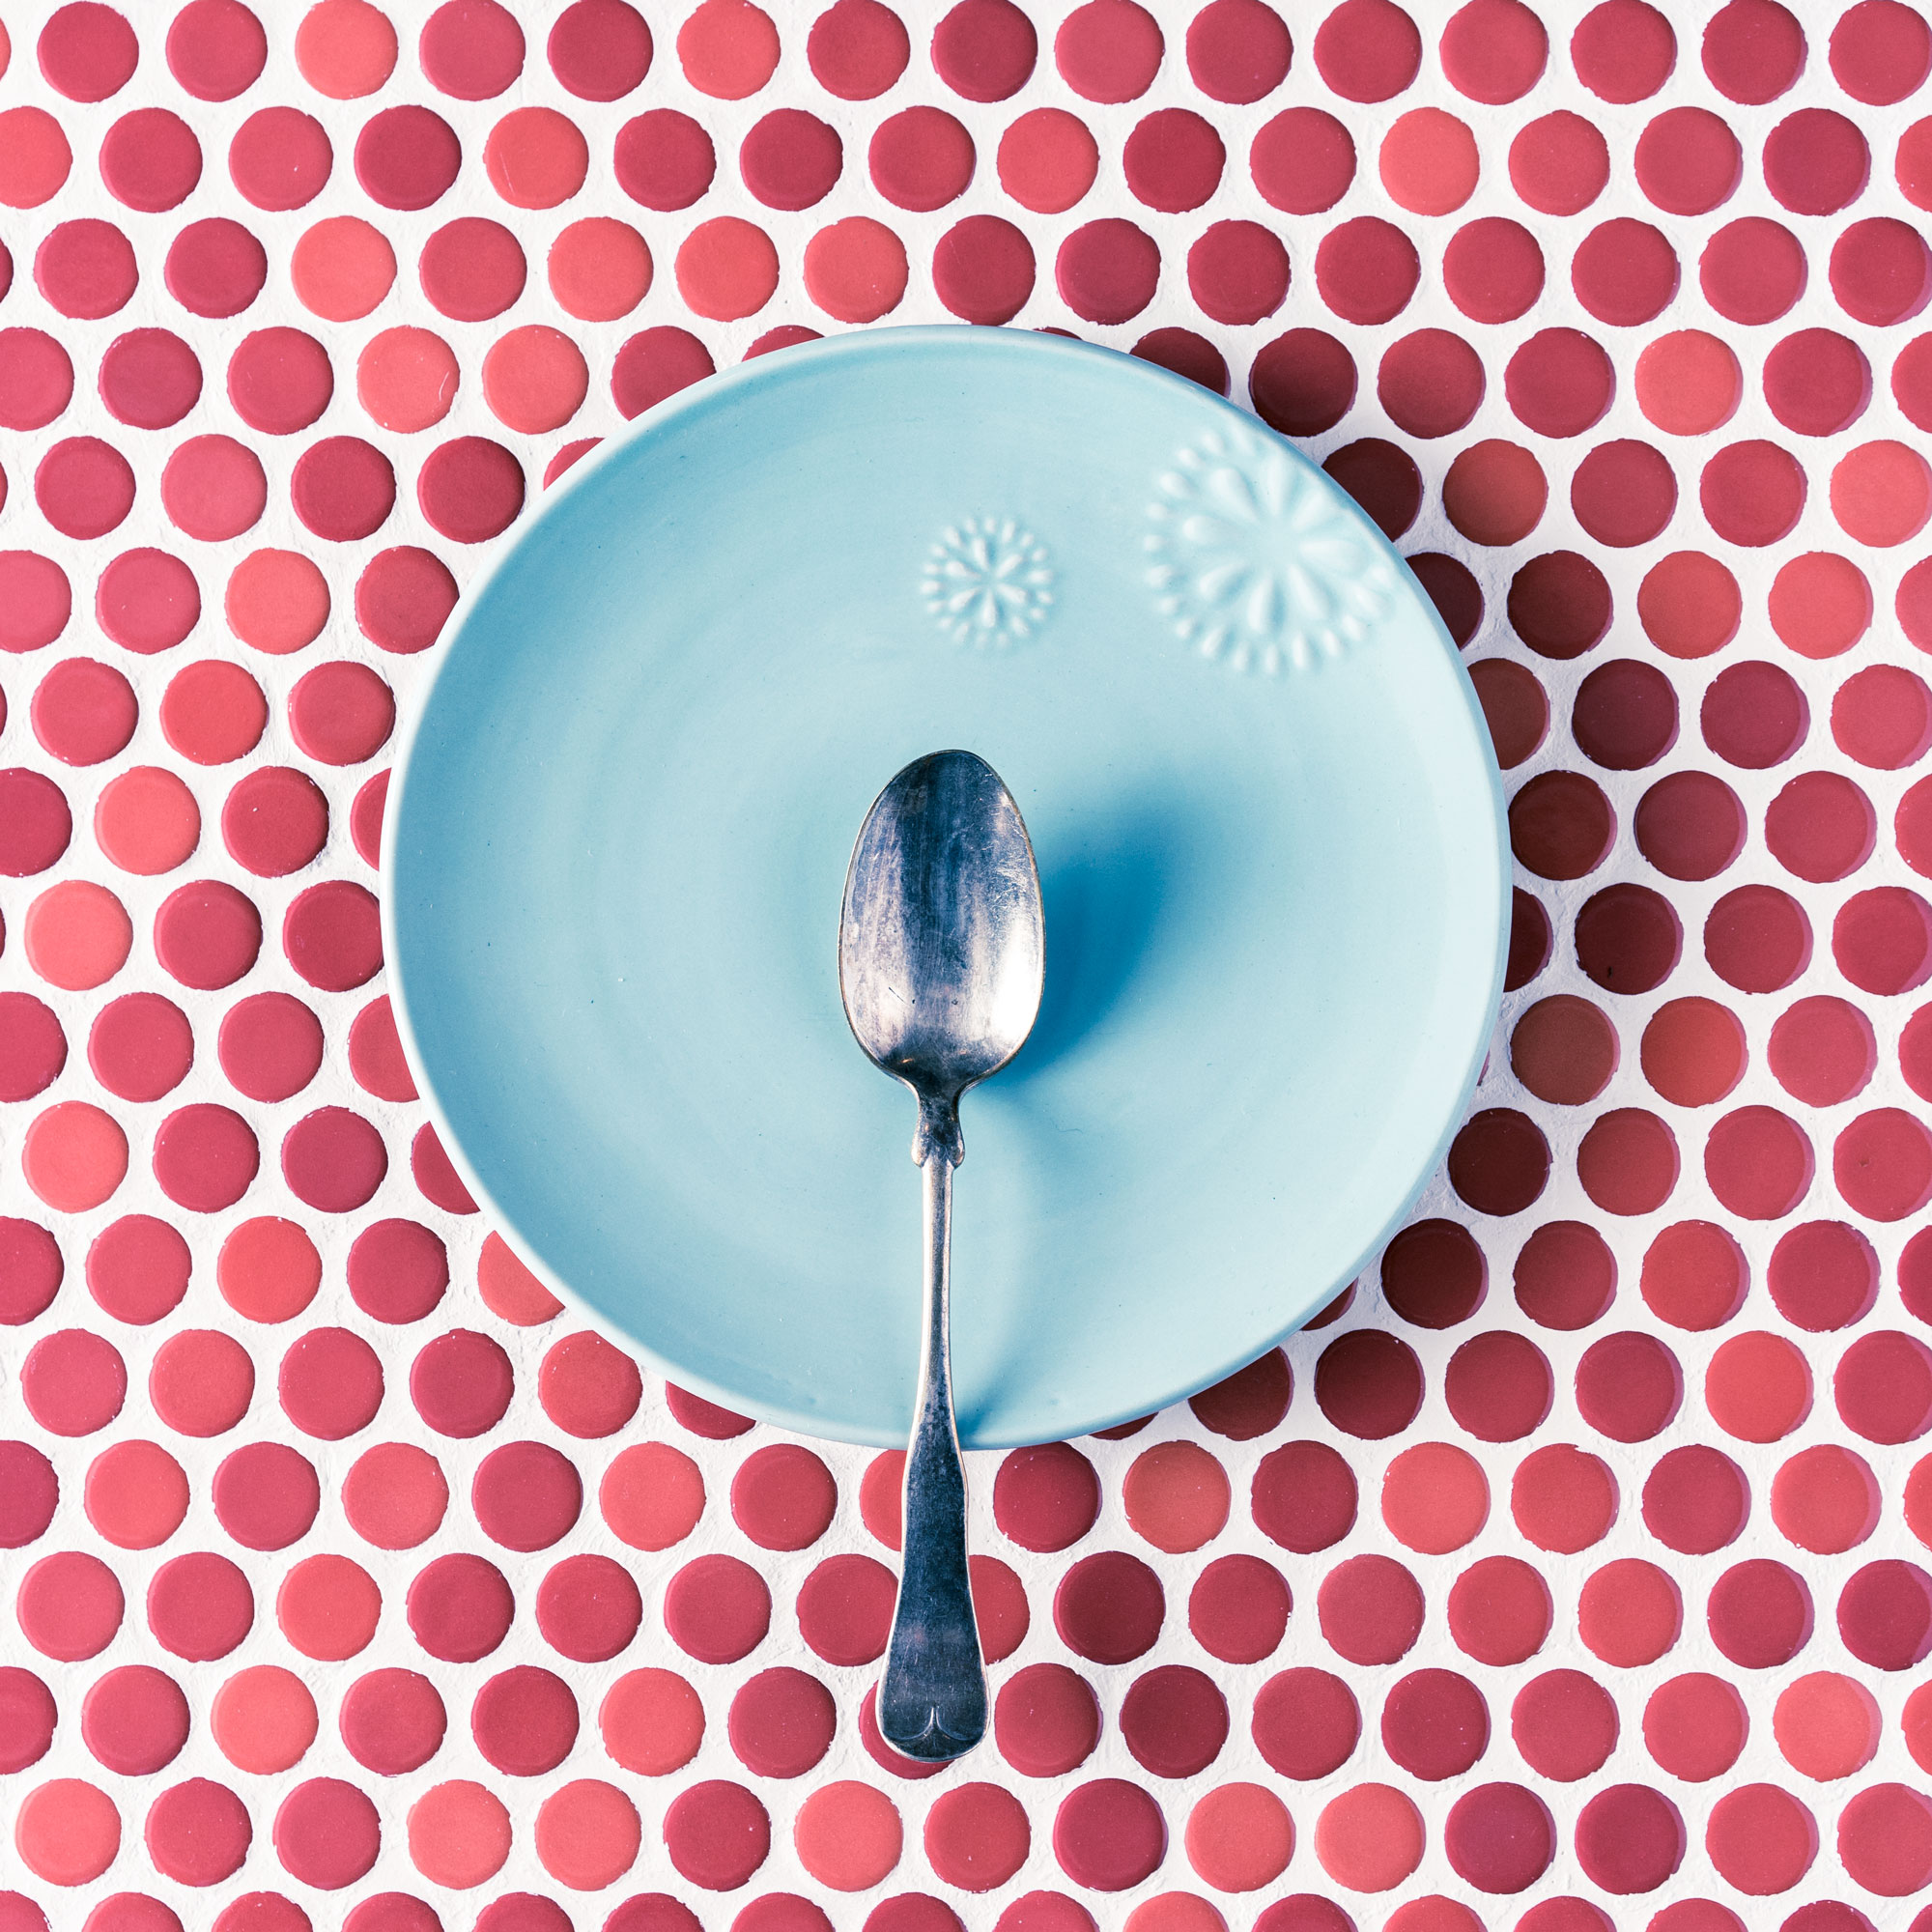
When taking something in 3D and putting it in a 2D composed space, it plays with your sense of scale. It’s very challenging to style and shoot on a large dinner plate. Food shooting is an exercise in less is more. A small selection of perfectly placed items on a smaller plate read more bountiful than a mass of correctly portioned food on a large plate. Also, when your plates are smaller, you can use smaller chunks of meat, smaller backdrops and shoot closer to your food — allowing you to use a smaller studio space.
When prepping food for a photo shoot, it’s important to know your style, the clients’ expectations, and the audience.
Blog followers will demand more authenticity but require less perfection. A package shoot requires more perfection, but legally you must shoot it as it is. Magazines require food that is styled and propped to such an artistic aspirational delight we just want to linger on the page a little longer. On social, it’s all about texture and color and surprise. Black Ice cream? Glitter Lattes? If it’s interesting, it’s shareable.
In essence, styling is about really seeing food, it’s more sculpture and storytelling than cooking and I think that is what makes it so much fun.